Welding symbols are the standardised shorthand that tells a welder exactly what weld to make, where, and how, based on AWS A2.4. The first thing to check on any symbol is which side of the joint it applies to (arrow side or other side), whether a size is actually specified, and whether the tail carries a WPS or process note that could change the whole instruction.
TL;DR:
- Welding symbols indicate whether welds are on the arrow side, far side, or both, based on their position relative to the reference line.
- Precise reading of numbers around a symbol is essential, with size to the left and length or pitch to the right, especially for intermittent welds.
- Proper interpretation of supplementary symbols like weld-all-around circles and field-weld flags is critical for correct scope and inspection.
- Confirming that symbols match the appropriate WPS, note, or code clause before fabrication prevents costly rework and misapplications.
- Manaracorp reviews all drawings for symbol accuracy, scope, and compliance before work begins, reducing field errors and ensuring clear communication.
Table of Contents
- Anatomy of a welding symbol: reference line, arrow, tail and reading order
- Common weld types and their pictograms
- Reading the numbers: size, throat, length, pitch and parentheses
- Supplementary symbols that change scope and inspection
- How to read a welding symbol, step by step
- Standards, misapplications and inspection checks worth confirming
- What Manaracorp checks before a symbol reaches the welder
- Why symbol literacy is the cheapest insurance on a fabrication job
- Get your drawings reviewed before they hit the shop floor
- Where to check the standards yourself
- Sources
- FAQ
Anatomy of a welding symbol: reference line, arrow, tail and reading order
Every welding symbol builds on three parts: the reference line, the arrow, and the tail. The reference line is the horizontal spine the whole symbol hangs from. The arrow drops down from one end and points to the joint. The tail sits at the opposite end and holds process notes, WPS references, or specification callouts, though it’s often left blank when no extra note is needed.
Reading order matters more than most drafters realize when they’re new to this. Symbols read left to right along the reference line, and numbers carry different meanings depending on which side they sit on: a number to the left of the weld symbol is the size, and a number to the right is the length or pitch for intermittent welds.
The arrow side versus other side distinction trips up more people than any other part of the system. A symbol placed below the reference line means weld on the arrow side (the side the arrow physically touches). A symbol placed above the line means weld on the other side, the far side of the joint from the arrow. Symbols on both sides mean weld both faces, and the OpenWA welding textbook confirms this placement convention as the backbone of the entire notation system.
A few things to keep straight before moving further:
- Below the reference line = weld on the arrow side.
- Above the reference line = weld on the other side.
- Symbols on both sides of the line = weld both sides.
- The tail is optional but never decorative. If it’s filled in, read it.
Common weld types and their pictograms
Each weld type has its own pictogram, and matching the shape to the joint is the first real skill a symbol reader develops. A fillet weld shows up as a right triangle, one of the most common symbols on any structural drawing because fillets join perpendicular or angled members without full penetration.
Groove welds get more nuanced treatment because the pictogram signals joint prep, not just weld shape. The choice among them usually comes down to material thickness, access, and how much distortion the shop can tolerate.
- Square groove: two parallel lines, used on thinner material where no bevel is needed.
- V-groove: a V shape, common where both members can be bevelled and access is open from one side.
- Bevel groove: one flat side and one angled side, used when only one member needs preparation.
- U-groove and J-groove: curved preparations that reduce filler volume on thick material, often chosen to limit weld shrinkage and distortion on heavy plate.
- Flare-V and flare-bevel: used on rounded or tubular members where the natural curvature forms part of the groove.
Beyond fillets and grooves, three more pictograms round out the everyday set. The plug and slot symbol is a rectangle, marking a hole filled with weld metal to join overlapping plates, common in lap joints where access from the edge isn’t possible. Spot and seam welds use a circle, typically for resistance welding on sheet metal assemblies. Stud welds get their own symbol entirely, usually specified by diameter and spacing for anchoring studs to a base plate before concrete pour or cladding attachment.
Reading the numbers: size, throat, length, pitch and parentheses
Numbers around a welding symbol carry precise, position-dependent meaning, and misreading their placement is one of the fastest ways to build the wrong weld.
- Size sits to the left of the weld symbol. For a fillet weld, this is the leg length, measured along one of the two legs of the triangular weld cross-section. For a groove weld, size typically refers to the depth of preparation, and you’ll often see a capital S with a value in parentheses denoting effective throat rather than leg size.
- Length and pitch sit to the right of the weld symbol, and this is where intermittent welds get specified. A callout reading “3 to 12” means 3 inch welds on 12 inch centres, so the shop welds a 3 inch segment, skips to complete a 12 inch spacing, and repeats down the joint.
- Parentheses have a specific job: they enclose effective throat dimensions on groove welds, distinguishing the calculated load bearing dimension from the nominal size. This distinction matters on complete joint penetration (CJP) welds, where the drawing may simply note “CJP” without a numeric size because full penetration through the material thickness is implied.
- Units and tolerances aren’t always on the symbol itself. Check the drawing’s general notes or title block before assuming inches or millimetres, especially on drawings that mix AWS and ISO conventions.
Supplementary symbols that change scope and inspection
A handful of small marks around the main symbol change what the shop actually has to do, and skipping them is where a lot of field problems start.
- Weld-all-around circle: placed at the junction of the arrow and reference line, this tells the welder to weld the entire perimeter of the joint rather than a single side. It’s correct for round tube-to-plate connections, but using it as a shortcut on joints with only partial access can mask fit-up gaps that never get flagged.
- Field-weld flag: a small flag at the same junction point, marking a weld that happens onsite rather than in the shop. It changes preheat planning, consumable selection for outdoor conditions, and when inspection has to happen relative to erection.
- Contour and finish codes: flush (F), convex ©, or concave contour symbols pair with finish codes such as G (grinding), M (machining), C (chipping), R (rolling), P (peening), and U (unspecified), and these determine what the inspector actually checks for acceptance, per the OpenWA reference on finishing conventions.
How to read a welding symbol, step by step
A reliable reading sequence keeps drafters, welders, and inspectors interpreting the same symbol the same way every time, and this five-step method mirrors the approach Clause5’s welding symbol guide recommends for shop drawing review.
- Locate the reference line. This is your anchor point for everything else on the symbol.
- Follow the arrow to the joint, then check whether the weld symbol sits above or below the line to confirm arrow side, other side, or both.
- Identify the weld type from the pictogram: triangle for fillet, V or bevel shape for groove, rectangle for plug, circle for spot.
- Read the size to the left of the symbol first, then check for length and pitch to the right if the weld is intermittent.
- Check the tail for WPS references, NDE requirements, or process notes that might override a default assumption.
Take a worked example: a fillet symbol below the reference line, reading “3/8” to the left and “3 to 12” to the right. That translates to: weld a 3/8 inch leg fillet on the arrow side of the joint, in 3 inch segments spaced on 12 inch centres, continuing that pattern down the full length of the joint.
Pro Tip: Before fabrication starts, mark up a print copy of the drawing and confirm four things in writing: the WPS number matches what’s in the tail, shop versus field scope is clear for every joint, finish requirements are called out, and any CJP notation has a corresponding throat or access note. Five minutes here saves hours of rework.
Standards, misapplications and inspection checks worth confirming
AWS A2.4:2020 is the primary North American standard governing welding symbol notation, now in its eighth edition, and it defines everything from reference line conventions to plug weld diameter notation. ISO 2553 is the international counterpart, and while the two systems look similar at a glance, arrow-side conventions and certain supplementary symbols differ enough that confirming which standard a drawing references is a non-optional first step.
The most frequent, costly misapplications repeat across projects: unspecified fillet sizes that leave leg dimensions to guesswork, careless use of the weld-all-around symbol on joints with only partial access, and missing effective throat callouts on flare-groove welds. Structure Magazine’s review of commonly misapplied symbols walks through real drawing examples where these gaps shifted design responsibility onto the welder rather than the engineer, which is exactly backwards.
Before releasing a drawing for fabrication, confirm:
- The symbol references a specific WPS or D1.1 clause where structural welds are involved.
- Any NDE (non-destructive examination) requirement is called out, not implied.
- Field welds carry the flag, and shop welds don’t.
- Contour and finish requirements match the joint’s actual service conditions.
What Manaracorp checks before a symbol reaches the welder
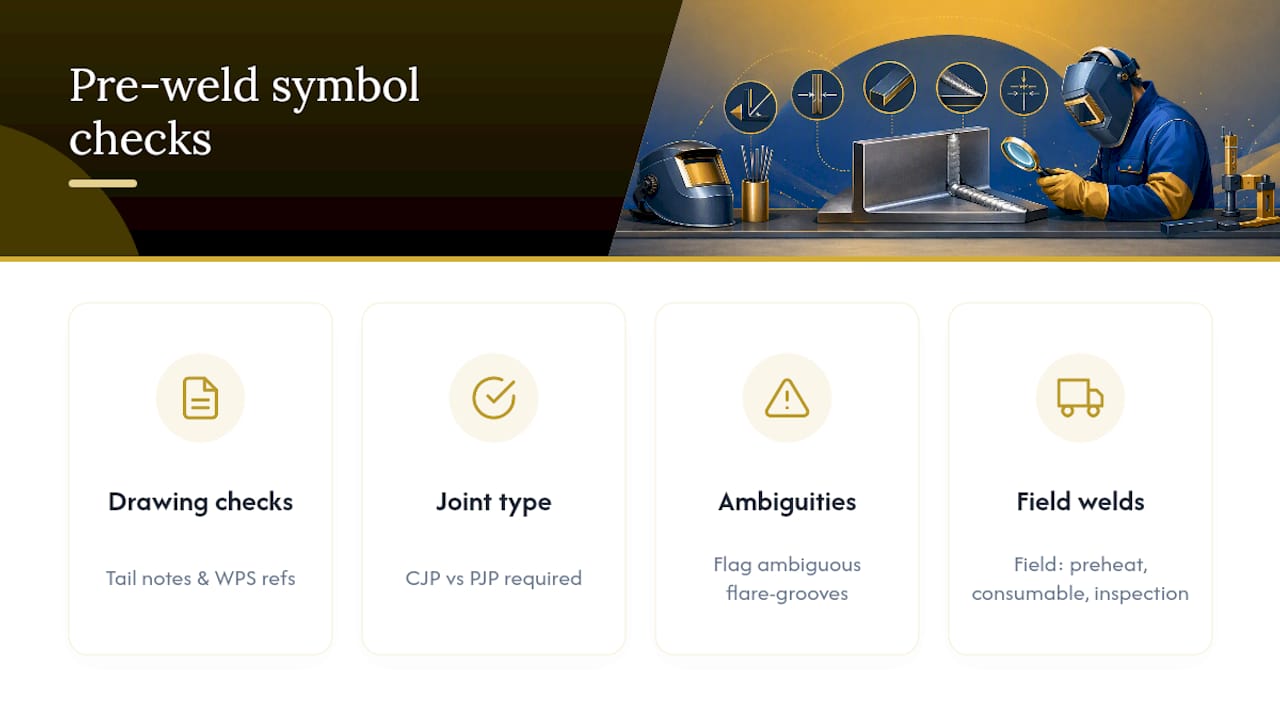
Manaracorp reviews every incoming drawing for tail notes, WPS references, and whether a joint calls for complete joint penetration versus partial joint penetration before quoting the job. Ambiguous flare-groove throats get flagged and returned for clarification rather than guessed at on the floor. Field welds get a separate look entirely, since preheat, consumable choice, and inspection timing all shift once the work moves from the shop to a site in Greater Montreal.
Why symbol literacy is the cheapest insurance on a fabrication job
Every welding symbol misread costs someone time, and usually more than once: a request for information back to the engineer, a delay while the shop waits on an answer, then rework if the wrong assumption made it to steel. Learning to read the reference line, arrow, and tail properly the first time is the single cheapest habit a drafter, welder, or inspector can build. When a symbol looks ambiguous, the right move isn’t to guess. It’s to ask.
— Ash
Get your drawings reviewed before they hit the shop floor
Manaracorp is the alternative to guessing your way through an ambiguous drawing set. Where a general contractor or DIY crew might interpret an unclear fillet callout on-site and hope for the best, Manaracorp’s shop reviews every symbol against WPS references and D1.1 requirements before a single arc is struck, which catches the exact misapplications Structure Magazine warns about (unspecified sizes, careless weld-all-around use, missing throat dimensions) while there’s still time to fix them on paper instead of in steel.

Whether you’re an architect finalizing a railing detail, a general contractor coordinating structural steel, or a homeowner working from a fabricator’s sketch, Manaracorp fabricates and installs welded steel, stainless steel, aluminum, and copper work across Greater Montreal, from the island through Laval, the South Shore, and the West Island. If a symbol on your drawing set needs a second set of eyes before fabrication starts, request a quote through Manaracorp’s welding services and get a drawing review scheduled this week.
Where to check the standards yourself
- AWS A2.4:2020 for the full symbol system and tail notation rules.
- A printable AWS welding symbol chart for quick shop-floor reference.
- Structure Magazine’s analysis of real-world misapplication cases.
Sources
- Standard Symbols for Welding, Brazing, and Nondestructive Examination (AWS A2.4:2020)
- Commonly misapplied welding symbols — Structure Magazine
- How to Read Weld Symbols – Step-by-Step Guide — Clause5
- 16.6 Basic elements of welding symbols — Introduction to Welding (OpenWA pressbook)
FAQ
What are basic weld symbols?
Basic weld symbols are pictograms placed on a reference line, showing weld type (triangle for fillet, V for groove, rectangle for plug, circle for spot) along with size, length, and placement relative to the arrow.
What are the 7 basic types of welding?
The common weld types covered by symbol notation are fillet, square groove, V-groove, bevel groove, U-groove, J-groove, and plug/slot, with spot, seam, and stud welds as additional pictogram categories.
What do 1G, 2G, 3G, 4G, 5G and 6G mean in welding?
These are welding position designations, not symbol notation: 1G is flat, 2G is horizontal, 3G is vertical, and 4G is overhead for groove welds on plate, while 5G and 6G apply to pipe in fixed horizontal and inclined positions.
How do I read weld drawings accurately?
Follow the reference line to the arrow, confirm arrow side versus other side placement, identify the weld type from the pictogram, read size to the left and length or pitch to the right, then check the tail for WPS or inspection notes.
Which standard governs welding symbol notation in North America?
AWS A2.4 is the primary standard in North America, while ISO 2553 governs internationally, and the two differ enough on arrow-side conventions that confirming which one a drawing references matters before fabrication starts.