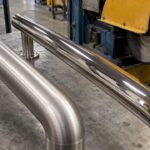
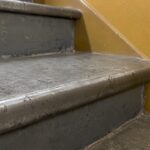
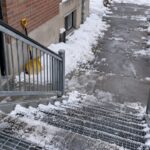
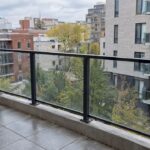
A railing that fits starts with a clean set of site measurements: every straight run measured segment by segment, the inside angle at each corner, the rise and run of each stair flight, the finished heights, and a note of what the railing will be fixed to. This guide covers what to record, how to record it, which Quebec code points affect the numbers, and what to send a fabricator so the quote matches the job.
It is written for homeowners, property managers, condo boards and contractors in Greater Montreal who are replacing or adding balcony guards, exterior stairs, landings or interior stair railings.
TL;DR
- Measure each straight section separately, along the line where the railing will sit, and record the inside angle at every corner.
- For stairs, record the number of risers, the rise, the going (run), the nosing projection and the direction of each flight.
- Note finished surfaces and what the railing will fix to (concrete, steel, wood, masonry). Heights are taken from the finished floor or stair nosing, not the rough structure.
- Send a numbered plan sketch, dimensions, and photos of every run. Mark anything unusual: slopes, drains, door swings, existing anchors.
- Code heights in Quebec follow the Construction Code, Chapter I, Building, so record the height you need to meet, not just the height you have.
Table of Contents
- Why site measurements decide the quality of a railing
- Tools and reference points
- Measuring straight runs: balconies, landings and decks
- Measuring stairs
- Recording height: handrails versus guards
- Quebec code points that change what you measure
- Fixing surfaces and what the railing attaches to
- Common measuring mistakes that change the quote
- What to send a fabricator for a quote
- Our perspective
- Get your railing measured and built in Greater Montreal
- FAQ
- Sources
Why site measurements decide the quality of a railing
Custom railings are cut, bent and welded to the dimensions you give. A railing is not a stock part that you trim on installation. A post set a few centimetres off a slab edge, or a flight whose rise varies from step to step, shows up later as an awkward gap, a rail that does not line up with the nosings, or a field modification that adds time to the install.
In our shop, custom railings are fabricated in Lachine and installed by our own team, so the numbers on the drawing become the parts on the truck. That is why we ask for the same information every time, whether the job is a single Plateau balcony or a commercial stair core. The sections below follow the order we would walk a site.
Tools and reference points
You do not need specialised equipment for a first set of measurements. You need a few tools used consistently.
- A 5 m or 8 m tape measure with a stiff blade, plus a second person to hold the far end on long runs.
- A 4-foot level or a laser level to check whether floors and slab edges are flat and whether walls and posts are plumb.
- A small angle finder or a protractor-style gauge for corners that are not 90°.
- A pencil, paper and a camera. Phone photos with the tape visible in frame are worth a lot.
- A laser distance meter is useful across open spaces, but confirm long figures with the tape.
Choose reference points once and keep them. Pick a datum, such as the top of the finished landing, and measure heights from it. Work in one unit only: millimetres is the simplest, because Quebec codes and most fabrication drawings use them. If your tape reads in inches, convert once at the end, not midway through.
Record every figure on a plan sketch as you go. Do not rely on memory or on a pile of loose numbers in a phone note.
Measuring straight runs: balconies, landings and decks
Measure each flat section along the specific line where the railing will sit: the slab edge, the deck edge, the stringer, or the face of a wall. Note where each section starts and stops and the inside angle at each corner, as set out in this guide to measuring a balustrade. Record lengths segment by segment rather than relying on one long pull, so a small error in one section does not carry through the whole job.
A practical sequence
- Sketch the plan view of the balcony or landing. Label each run A, B, C and so on.
- Measure each run along the line where the railing will actually stand. If the posts will be face-mounted to the slab edge, measure the edge. If they will be top-mounted, measure where the base plates will land, set back from the edge.
- Measure each run twice, once from each end, and write both figures if they differ.
- Note whether each end meets a wall, a door frame, another railing or open air. The end condition changes the hardware and sometimes the length.
- Measure the diagonals of any rectangular balcony. Equal diagonals confirm the shape is square. Unequal diagonals tell the fabricator that the corners are not true.
Corners and angles
Most corners in older Montreal buildings are close to 90° but not exactly. Take the inside angle with a gauge and write it beside the corner. If a wall bows, or a slab edge curves, tell the fabricator and photograph it. Curved edges are a case for profile rolling, where the rail and base are rolled to match, and they need a series of measurements along the arc rather than one length.
Post locations
Posts are positioned by the structure as much as by the look of the railing. Mark where the slab is sound, where there is a drain or a membrane upturn, and where the edge is cracked or spalled. Post spacing is a design and engineering decision, so record the usable fixing positions and let the fabricator propose the layout. If you are replacing an existing railing, measure the old post positions and photograph the anchors. Reusing sound anchor locations can simplify the work. Corroded or cracked ones need to be flagged early.
Measuring stairs
For each flight of stairs, record the number of risers, the average rise, the first and last rise if they differ from the rest, the going, the nosing projection, the stair width if the railing runs beside a stringer, and the direction of the flight, as the same balustrade measuring guide lists.
A worked example for an exterior stair with five risers:
| Item | Example record |
|---|---|
| Number of risers | 5 |
| Typical rise | 175 mm |
| First rise (bottom) | 165 mm (settled pad) |
| Going (run) | 280 mm |
| Nosing projection | 25 mm |
| Stair width | 1 050 mm |
| Direction | Rising to the left, facing up |
| Top landing | 1 200 mm × 1 400 mm, slab with membrane |
The first-rise note matters. If the bottom step is shorter because the pad has settled, the rail slope and post heights change, and the fabricator needs to know before the rail is cut.
Slope and the rise-and-run triangle
The slope of the handrail follows the line through the nosings. One way to check a layout is to draw the rise and run to full scale on paper or scrap and test the rail and baluster spacing against it, an approach described in this carpentry article on stair rail layout. On site, you can simply lay a straightedge across the nosings, measure the angle, and photograph it.
Landings and transitions
The trickiest spot on most stairs is where the sloped rail meets the level rail at a landing. Record the distance from the last nosing to the first post position on the landing, the landing depth, and whether the flight turns. For winders or half-turns, add a sketch with the angle of each step. A simple stair railing can be quoted from a sketch. A turning or open-riser stair needs a site visit to take dimensions at the stringers, and in some cases we template the stair before fabrication. For new staircases, see our metal staircases page.
Recording height: handrails versus guards
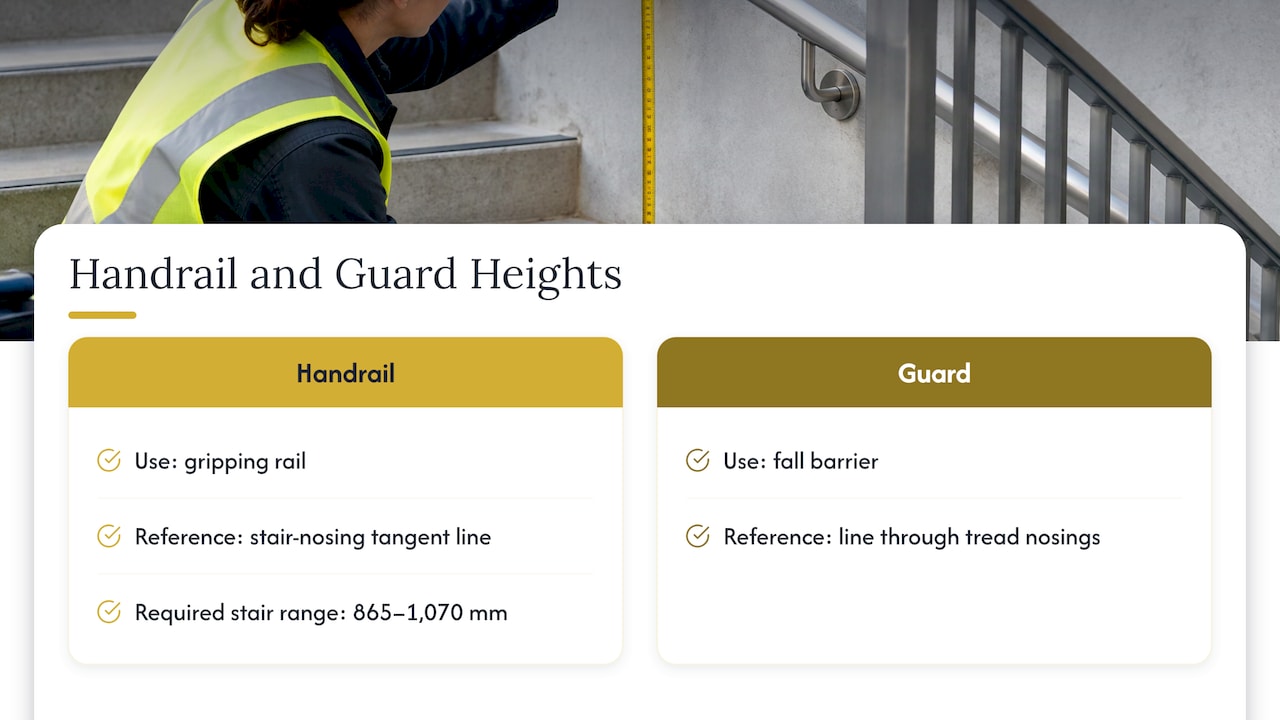
A handrail is what you grip. A guard is the barrier that stops a fall. They have different height rules and different ways of being measured, so label which one you are recording.
Per the National Building Code summary at buildcodes.ca, Section 9.8, handrail height is measured vertically from the top of the handrail to the line tangent to the stair nosings (or to the ramp, floor or landing surface). Required stair handrails generally sit between 865 and 1 070 mm. The guard on a stair is measured vertically from the top of the guard to a line through the tread nosings.
So on site, take two numbers: the height of what exists now, and the height of the finished floor or nosing line from which the new height will be measured. If you will be adding a topping, tile, deck boards or a new membrane, record the finished level, not the current one. A 20 mm difference in floor build-up becomes a 20 mm difference in guard height.
Quebec code points that change what you measure
In Quebec, the Construction Code (Chapter I, Building) is based on the National Building Code (the CNB in French) with provincial amendments. Your municipality and, for work on a worksite, the CNESST health and safety rules also apply. Rules differ between building types, so always confirm the requirement for your project with the municipality, your architect or an engineer.
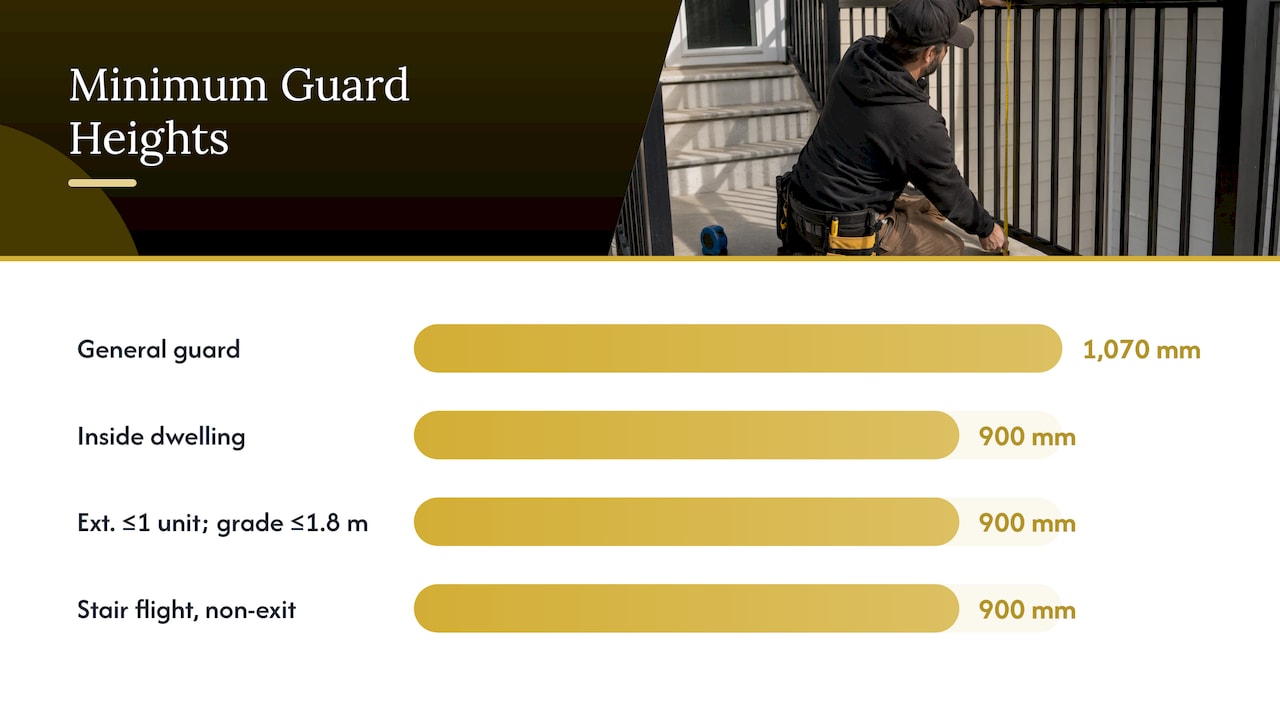
On guard height, the Quebec Construction Code text for guard height sets a general minimum of 1 070 mm. It reduces that to 900 mm for guards inside a dwelling unit and for exterior guards serving no more than one dwelling unit where the walking surface is no more than 1 800 mm above finished grade. Guards on stair flights, other than required exit stairs, must be at least 900 mm.
What this means for your measuring:
- Record the height above grade at the lowest and highest points of the balcony or stair. A balcony that is 1.6 m above grade at one end and 2.1 m at the other has two different cases.
- Record the building type. A single dwelling, a duplex, a multi-unit building and a commercial property fall under different cases.
- Record the existing openings, such as the gap between pickets and between the bottom rail and the floor. Openings in guards are limited by code, and a fabricator needs to know the design intent. See our handrail diameter and guardrail load guides for the grip and structural side.
- Record whether the guard is climbable. Horizontal rails and decorative patterns can be a problem in some cases, so photograph the existing guard.
For condo boards, a rule that applies across a whole building is better handled in one pass. Our condo railing rules page explains the common questions about common elements and replacement.
Fixing surfaces and what the railing attaches to
The same railing is fixed differently depending on the surface. Record for each run:
- Concrete slab: thickness at the edge if visible, condition, any cracks or rust stains.
- Steel stringer or beam: profile and thickness, and whether it can be welded to on site.
- Wood deck or framing: joist direction and spacing, since posts need solid backing.
- Brick or stone: mortar condition and depth available for anchors.
- Membrane, tile or topping: these hide the structure and need extra care at post bases.
The choice between welded and bolted connections depends on these surfaces and on the finish. Our guide on welded vs bolted railings explains the trade-offs. For a steel railing in our climate, think about finish as well. Montreal winters and de-icing salts make coating a design decision, covered in rust prevention for steel railings. Material choice, including steel vs aluminum stairs, also affects how you detail the fixings.
Common measuring mistakes that change the quote
These come up often on railing jobs, and each one is easy to avoid.
- Measuring one long run instead of segments. Errors add up, and a bump or step along the way goes unnoticed.
- Measuring the wrong line. The slab edge, the face of the finished surface and the post centreline are three different numbers.
- Ignoring the finished floor. New tile, decking or membrane changes height and may change how posts are fixed.
- Assuming 90° corners. Take the angle.
- Skipping the first and last riser. These are the ones that are usually different.
- Forgetting obstructions. Door swings, drains, downspouts, gas meters, light fixtures and window sills all affect post positions.
- Mixing units. Pick millimetres and stay there.
- Measuring the old railing and copying it. The old one may not meet current code, or may have been installed to a different floor level.
- No photos. A sketch can leave out the one detail that matters.
At the other end of the project, the same care applies to openings the railing meets, such as a door or glass panel. If you want to see how a trades supplier handles clearances for a neighbouring product, measuring sliding door openings shows the habit of building in a small allowance at the top. For railings, ask us which tolerances we need around doors, walls and structure.
What to send a fabricator for a quote
For a custom quote, give us:
- A plan sketch. Number each section and note each run length, corner angle, end condition and fixing surface, which is the layout approach set out in this guide to drawing a balustrade.
- Stair data. Risers, rise, going, nosing, width, direction, landing sizes.
- Heights. Finished floor or nosing reference, and the height above grade.
- Photos. The whole run from each end, each corner, the fixing surface close up, and anything unusual.
- The design intent. Steel, stainless or aluminum, pickets or panels, finish and colour.
- The context. Building type, who approves the work (board, municipality, architect), and the timeline.
A drawing and photos let us quote quickly, and for anything complex we visit the site to verify before cutting steel. For architects and designers, our architectural metal specifications page covers the information we like to receive with drawings.
Our perspective
We fabricate and weld in Lachine, and we install our own work across the island, Laval, the South Shore and the West Island. Because the shop and the install crew are the same team, a measurement is never a number passed down a chain. It is the dimension we will cut, bend and weld, then carry to your site.
That changes how we work. We would rather spend twenty minutes on a plan sketch and a few photos than discover a misread corner on installation day. A good set of site measurements shortens lead time, and it keeps the code questions (heights, openings, loads) settled at the start of the job.
If your balcony or stair is simple, a sketch and photos are usually enough to begin. If it is a turning stair, a curved slab or a multi-unit building, we would rather see it first. Either way, the goal is a railing that fits the structure you have, meets the code you are under, and holds up through Montreal winters.
Ash
Get your railing measured and built in Greater Montreal
Manara Corp. fabricates custom railings, stairs and fences in-shop in Lachine and installs them throughout Greater Montreal, for homeowners, contractors, architects, property managers and commercial owners, in French or English. Send us your sketch and photos, or ask us to look at the site.

See our railings and stairs pages, or start from the Manara Corp. home page to request a quote. Our fabrication is installed locally and we do not ship fabricated parts outside Greater Montreal.
FAQ
Can I measure my balcony railing myself and send you the numbers?
Yes. A plan sketch with each run’s length, the corner angles, the finished heights and photos is often enough to start a quote. For turning stairs, curved edges or unclear structure, we recommend a site visit so the dimensions are confirmed before fabrication.
Do I measure to the old railing or to the structure?
Measure to the structure and the finished surfaces. An old railing may have been installed to a different floor level or to an earlier code. Photograph it and record its post positions and anchors, but take the new dimensions from the slab edge, stringer or wall.
What height should I record for a guard in Quebec?
Record the finished floor level and the height above grade. The Quebec Construction Code sets a general minimum of 1 070 mm, with 900 mm allowed inside a dwelling and for certain exterior guards no more than 1 800 mm above finished grade, per the code text. Confirm which case applies to your building with the municipality or your architect.
What photos should I take?
Take the full run from both ends, every corner, the slab edge or fixing surface up close, the top and bottom of every stair flight, and any obstruction such as a drain, door swing or meter. Include a tape measure in some frames for scale.
How accurate do measurements need to be?
Be as exact as the tape allows, and write down the numbers you are unsure about. Measuring each segment twice, once from each end, catches most errors. The fabricator will confirm tolerances with you for the connection type and finish.
Sources
- Measuring a balustrade, GlazierEdge Help
- Section 9.8, Stairs, Ramps, Handrails and Guards, buildcodes.ca
- Code de construction du Québec, hauteur des garde-corps, qccodes.ca
- How to Draw a Balustrade, CAD60
- Quick Layout for Stair Rails and Balusters, JLC Online